Collaborate with Skype for Business - Windows
All of the following tools are available in a Skype for Business (SFB) Meeting. Schedule a meeting in minutes. Or have a SFB Meeting in seconds.
|
|
|
|
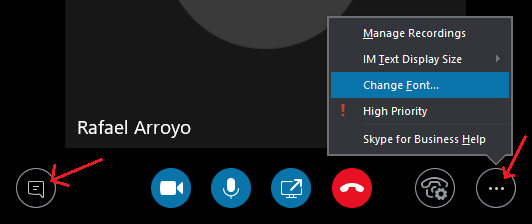
To send an instant message (IM) to all meeting participants:
To send future messages during a meeting, type your message in the input area and press ENTER. To change the font style or size, click the elllipsis on the far right and then select Change Font.
|
|
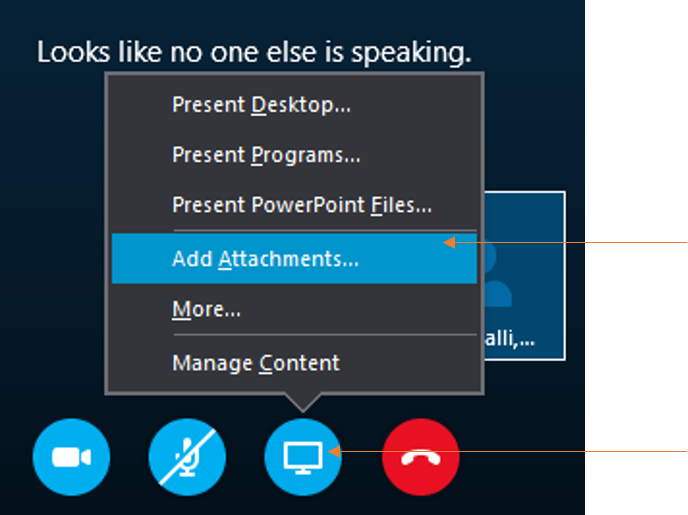
The Attachments option allows you to send a file to each meeting participant.
To send a file to all participants:
Meeting participants are alerted of the file which they can save for later viewing.
Shortcut: Drag and drop a file on the Group Conversation window.
 |
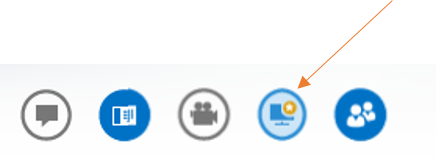
If a file is sent during a meeting, an indicator notifying you of the file appears on the Share button.
To save a file that someone sends during a meeting:
The Attachments dialog box opens.
|
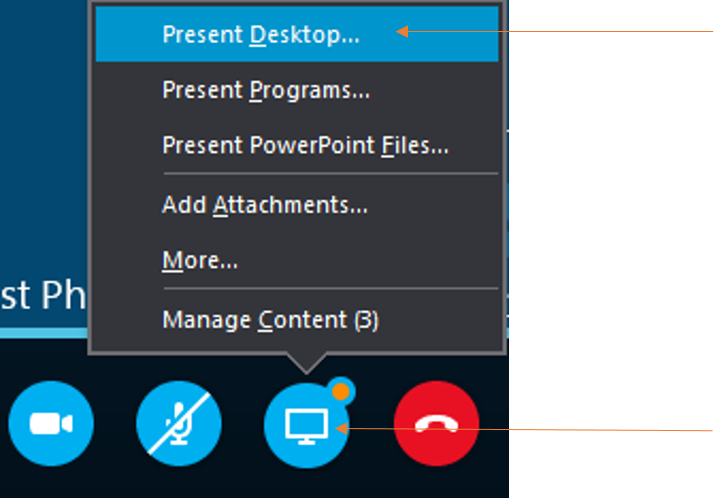
Sharing your desktop is used to allow all meeting participants to see what you see on your screen. Not only can you share your desktop, it is possible to give control of your desktop to a meeting participant. Only Presenters can share a desktop.
To share your desktop:
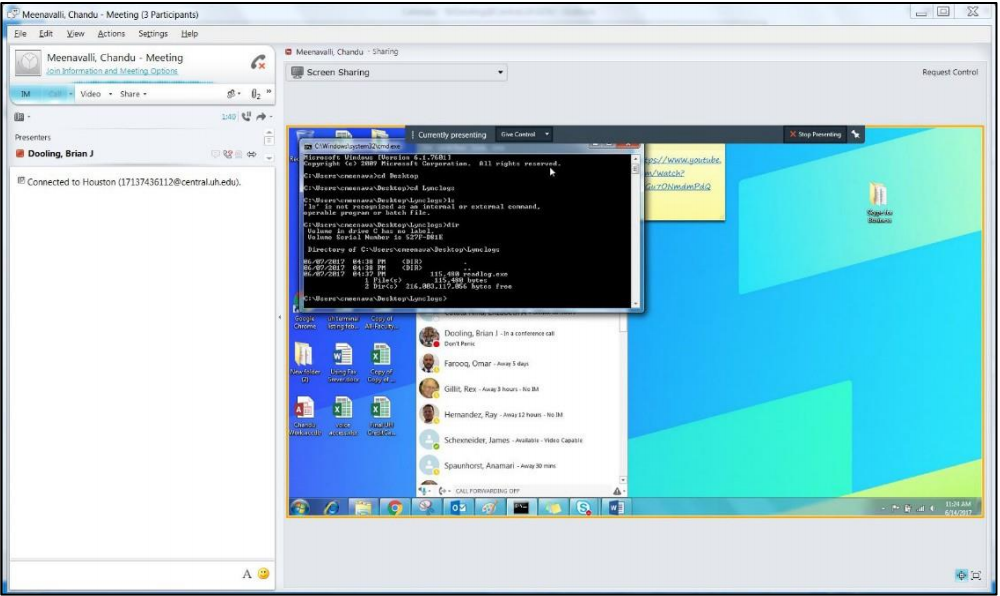
The Group Conversation window expands showing a stage for all participants to see the shared desktop. This image shows how your stage appears when someone other than you shares a desktop. Click the Full Screen icon to see the desktop full screen.
The Group Conversation window expands showing a stage for all participants to see the shared desktop. This image shows how your stage appears when someone other than you shares a desktop. Click the Full Screen icon to see the desktop full screen.↑ Note: When sharing your desktop, participants will see all content surrounded by a yellow border.
While sharing a desktop the Sharing Control Bar appears at the top of your screen.
Giving control means a selected person gains control of your mouse.
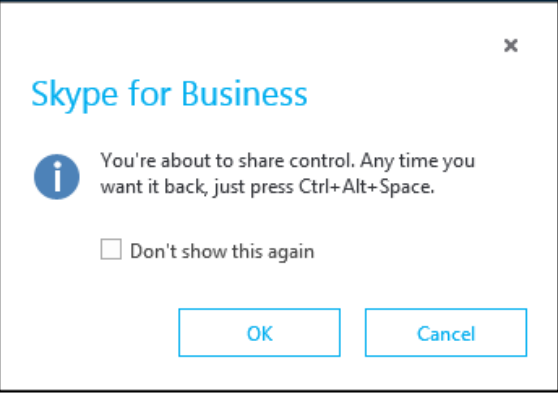
To give control of your desktop:
The following dialog box appears.
To regain control of your desktop:
To stop sharing your desktop:
|


It is possible to share individual programs with participants instead of your entire desktop. Not only can you share a program, it is possible to give control of a program to a meeting participant. Only Presenters can share a program.
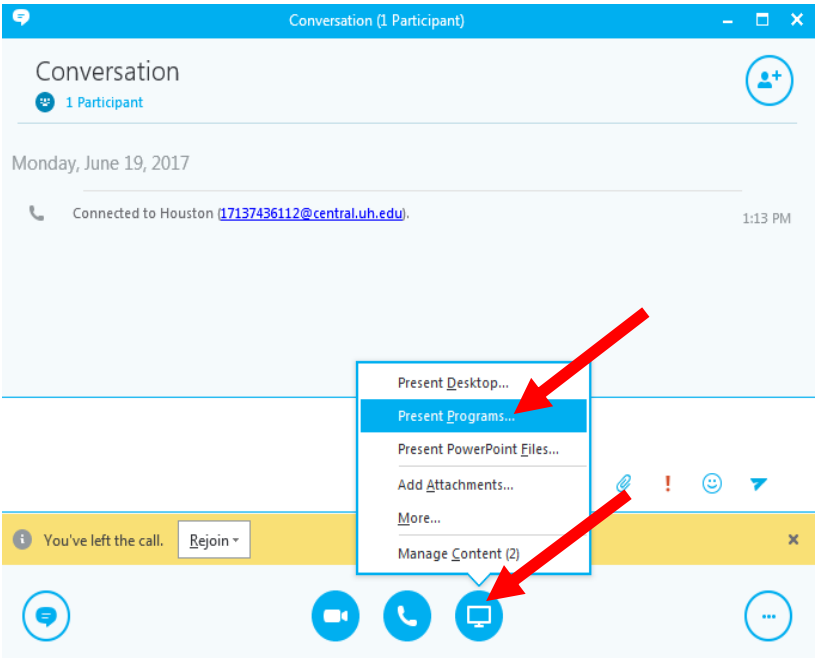
To share a program:
The Present Programs dialog box appears.
In the box that appears, select Present Program.
The Present Programs dialog box appears.
The Group Conversation window expands showing a stage for all participants to see the shared program(s). Note: Participants will see all programs that are surrounded by a yellow border.
The Sharing Control Bar appears at the top of your screen allowing you to give control.
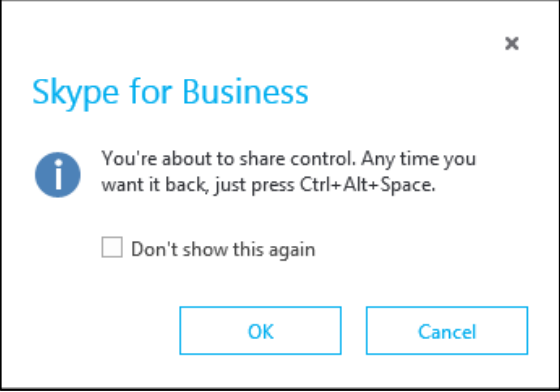
 Giving control means a selected person gains control of your mouse.
To give control of your program(s):
To regain control of your program(s):
To stop sharing your program(s):
|


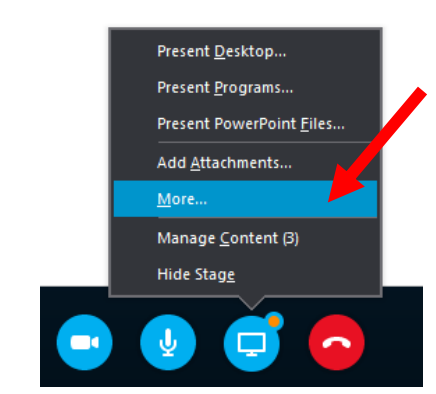
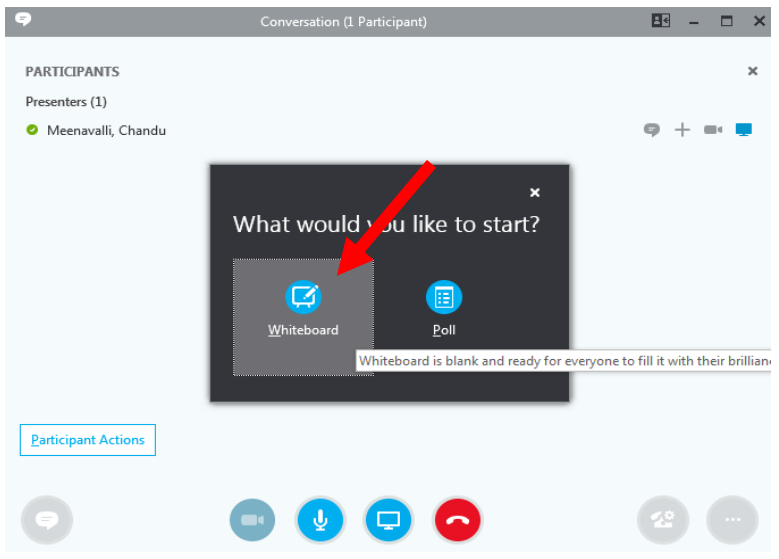
Whiteboard is a digital version of the whiteboards found in most conference rooms. Whiteboard has a laser pointer, typing tool, drawing tools, pens and more. A shared whiteboard is immediately available for all meeting participants to use. Only Presenters can share a whiteboard.
To share a whiteboard:
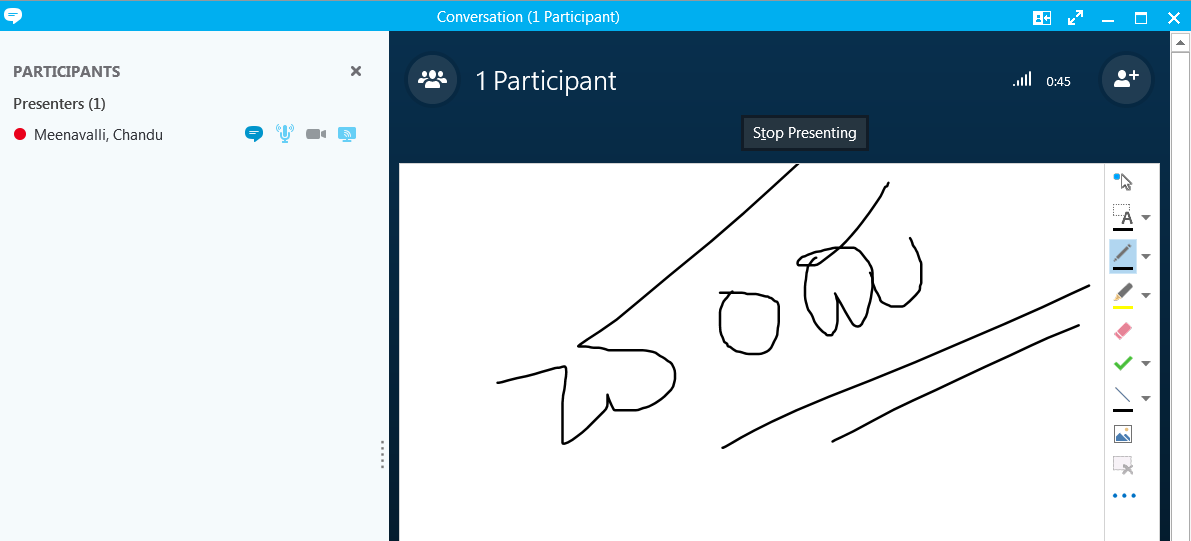
The Group Conversation window expands showing a stage for all participants to see the whiteboard. When a meeting participant writes on the whiteboard, everyone in the meeting can view what is written.
Select a tool from the right side of the whiteboard to add information to the whiteboard. To stop sharing the whiteboard:
|
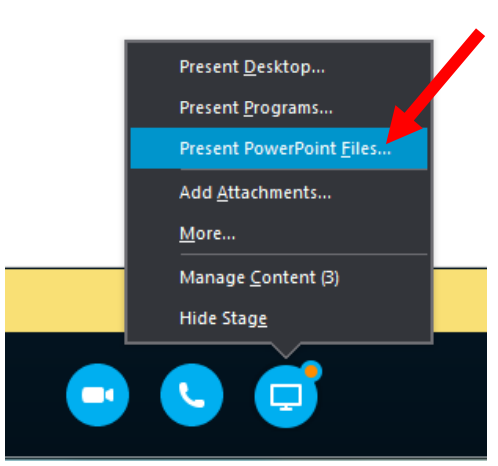
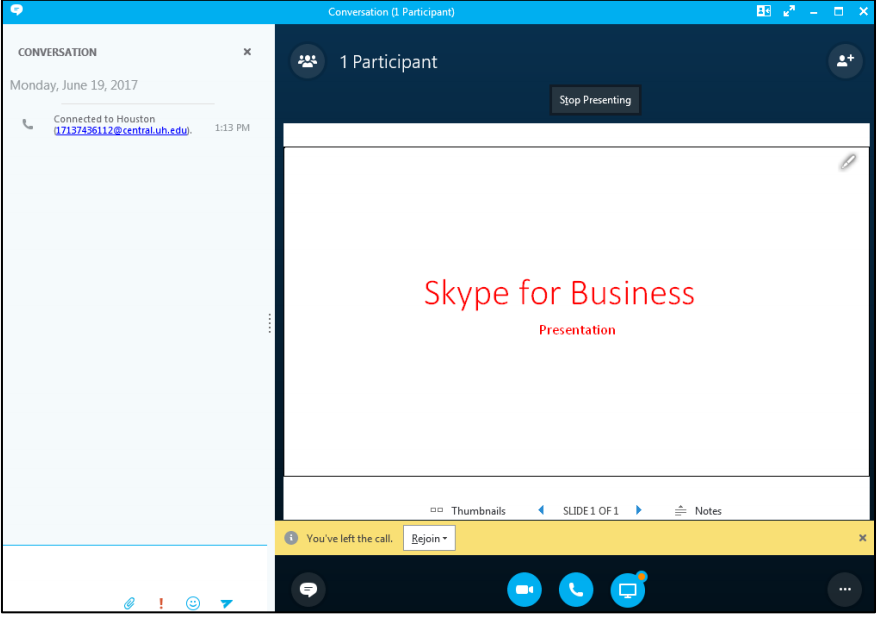
An Attendee or a Presenter can upload a PowerPoint presentation. Only a Presenter can share a PowerPoint presentation. Only a Presenter can give (navigate) a PowerPoint presentation.
To give a PowerPoint presentation:
The Group Conversation window expands showing a stage for all participants to see the presentation.
To end the presentation:
|
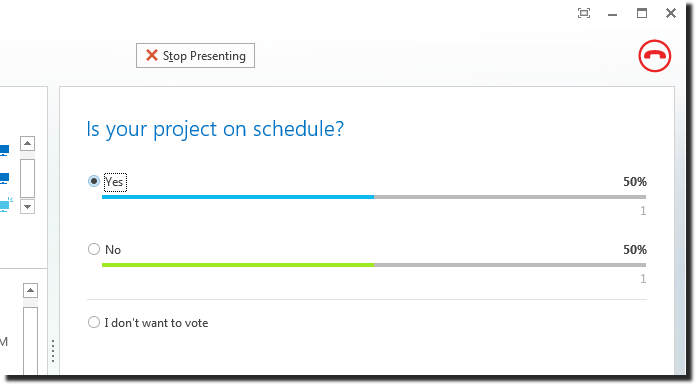
It is possible to conduct a poll or gain a consensus of the meeting participants by offering multiple choices to a question. A poll is anonymous and instant with the results displayed for all participants to view. Only a Presenter can conduct a poll. By default, only Presenters can see the results.
To conduct a poll:
This image shows a completed poll.
To allow Presenters and Attendees to see poll results:
To end the Poll:
|
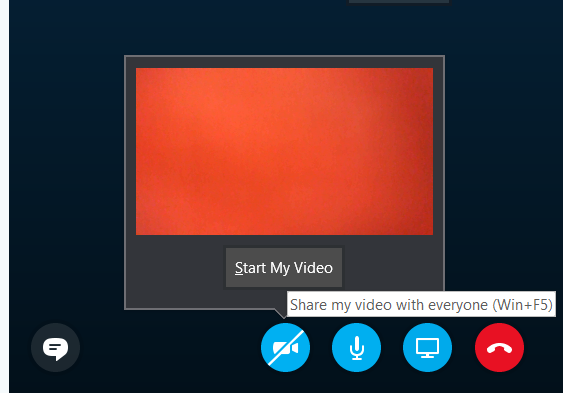
If a participant has a video camera connected to their computer, it is possible to add video to the meeting. A participant, who doesn’t have a video camera, can see the video image of other participants who do have a video camera.
To add video to a meeting:
Only one video image at a time appears in the Group Conversation window. The larger video image displayed belongs to the person currently speaking. Your video image appears to you in the smaller preview image.
To expand the video image:
To turn video off:
|

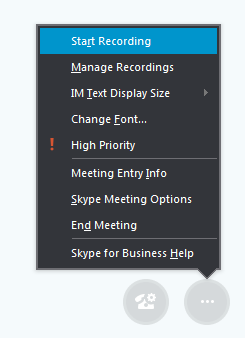
Presenters can record video and audio of everything that is shared during a meeting. Recording notification appears in the Group Conversation window of all participants and remains until recording ends.
To start recording:
Recording controls appear near the bottom of the window to pause, resume or stop recording.
To end recording:
|

|
All Skype for business (SFB) recordings are saved to your Windows user directory on your hard drive in Windows media (wmv) format. Skype for business (SFB) Recording Manager displays a list of all recorded meetings and allows you to play, rename, convert to MP4 or publish a recording directly to SharePoint. There are two ways to access the Recording Manager.
To access the Recording Manager while in a meeting:
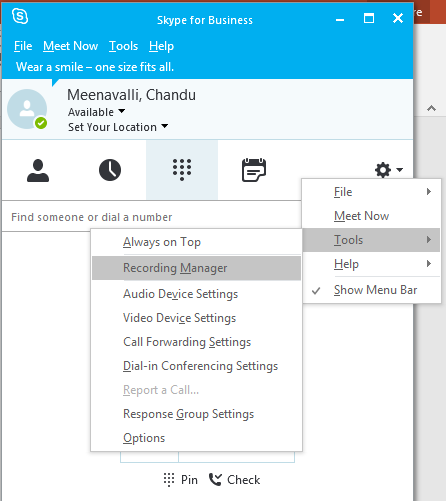
To open the Recording Manager when not in a meeting:
|
For Skype for Business (SFB) related questions or problems, send email to sfbsupport@uh.edu.