Custom Header and Footer
The UH header and footer templates are available to users in the CMS (Cascade Server). These templates provide a more user-friendly interface to:
- Create and customize headers and footers
- Choose from optional, approved color schemes
- Easily edit content and menus
All websites for colleges, divisions, departments, centers and institutes that are funded by the University shall follow UH brand guidelines. For more on these guidelines, please review UH Brand Style Guidelines and the Editorial Style Guide. If you have any questions about how to access or use these templates, please contact UMC Web Marketing team at webmarketing@uh.edu.
Table of Contents
- Headers
- Customizing the Header
- Choosing Header Theme and Tactical Links
- Footers
- Customizing the footer
Headers

Edit the website’s home index page to select the header-local file and all secondary pages will automatically display this header. The header no longer uses a tertiary wordmark and instead displays the site name in the form of a type treatment.
Customizing the Header
Each new header by default is set as a Secondary Header with the ‘Brick’ theme: a bar across the top with a red background and the site name and menu bar below with a brick background. The other options available at this time are ‘Red,’ ‘Slate,’ ‘Custom with Image,’ and ‘Minimal.’
The header options are:
Secondary Header
- Uses a type treatment for the site name
- Optional menu bar
- Has by default ‘Give to UH’ in the tactical links (the hyperlink can be changed to your site-specific giving page)


Custom Header with Image
- Uses an image to indicate the site name
- Optional menu bar

Minimal Header
Has only a narrow bar with University of Houston and tactical navigation links

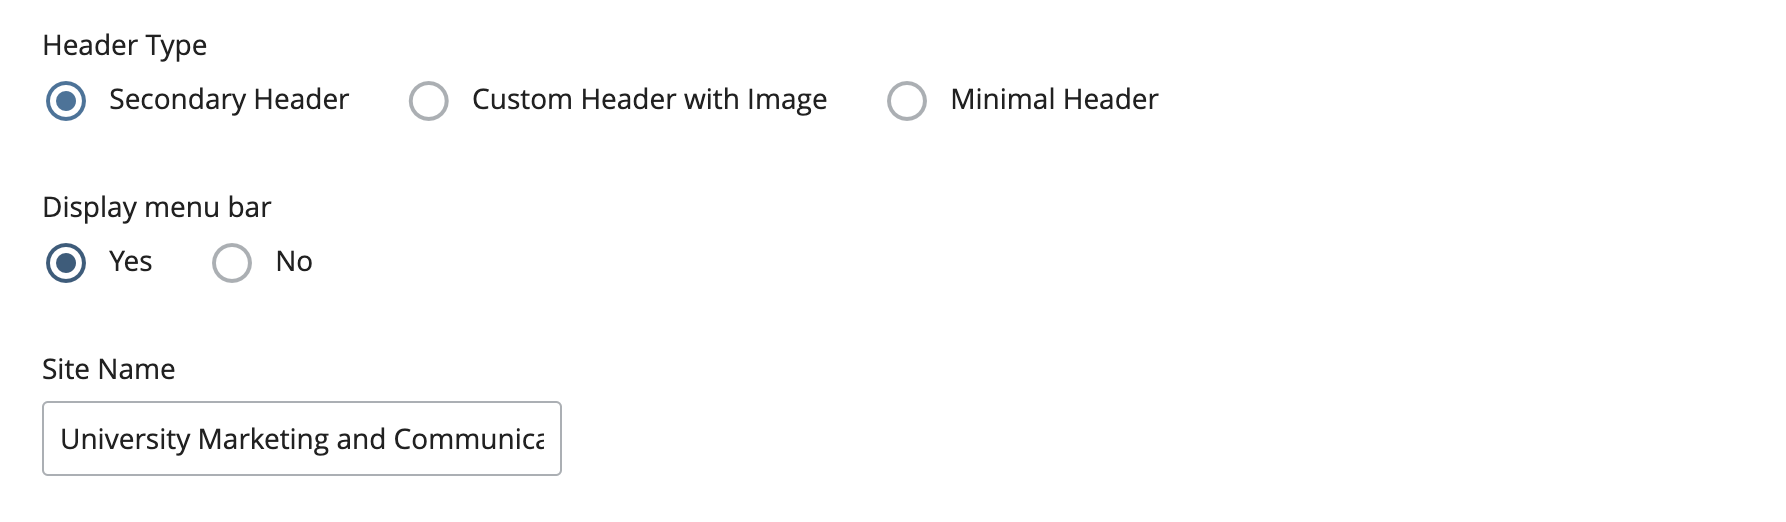
To change the Header Type, select the appropriate radio button:

Secondary Header
- Choose the Secondary Header radio button
- Fill in the ‘Site Name’ field
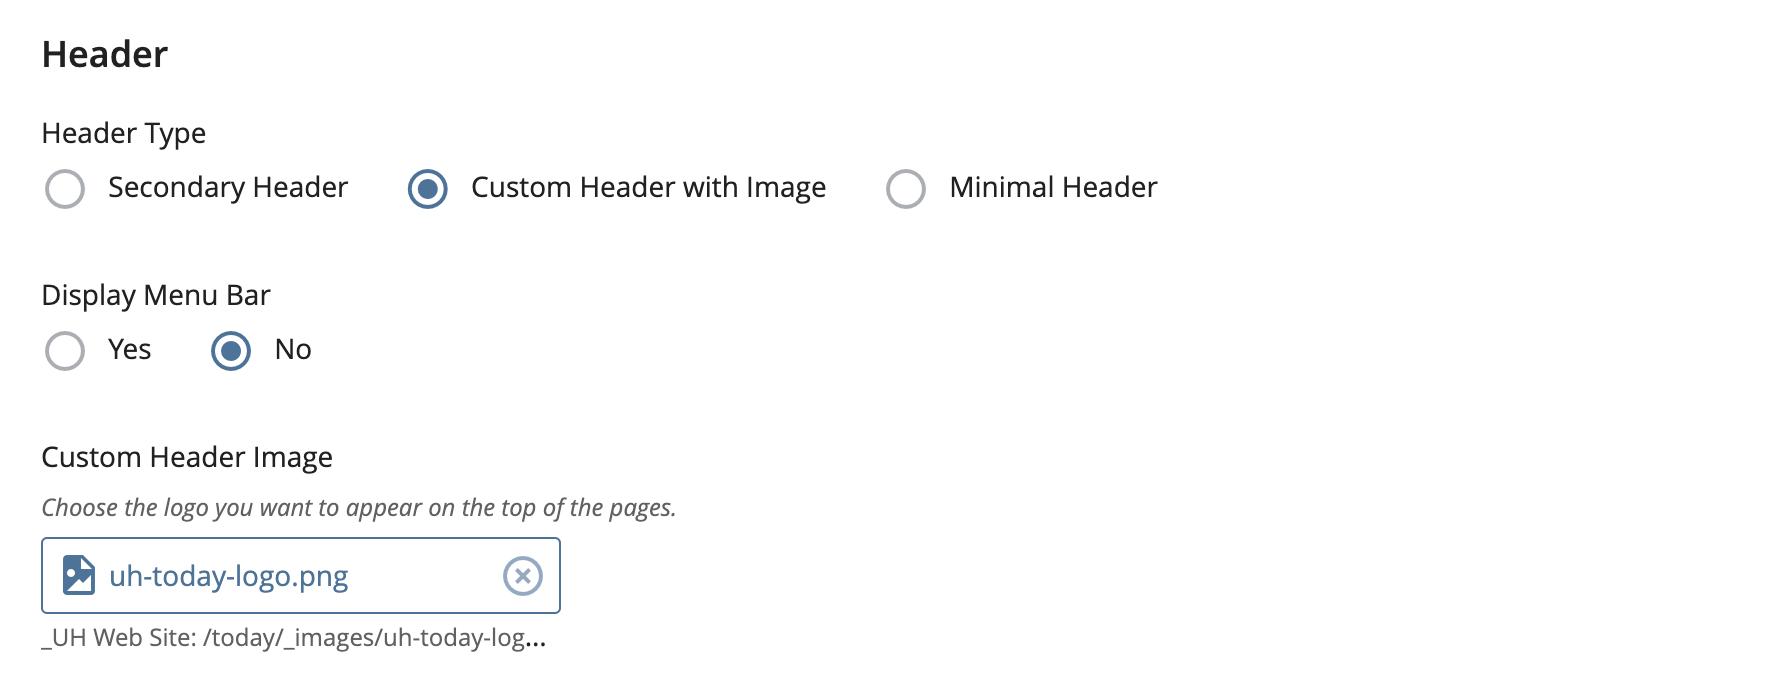
Custom Header with Image
- Choose the Custom header with Image radio button
- Browse and select an image
Minimal Header
- Choose the Minimal Header radio button

Choosing Header Theme and Tactical Links
To choose an alternate header theme, expand the ‘Header Settings’ group to see the available options.
Use these options to:
- Change the Secondary Header Color Theme
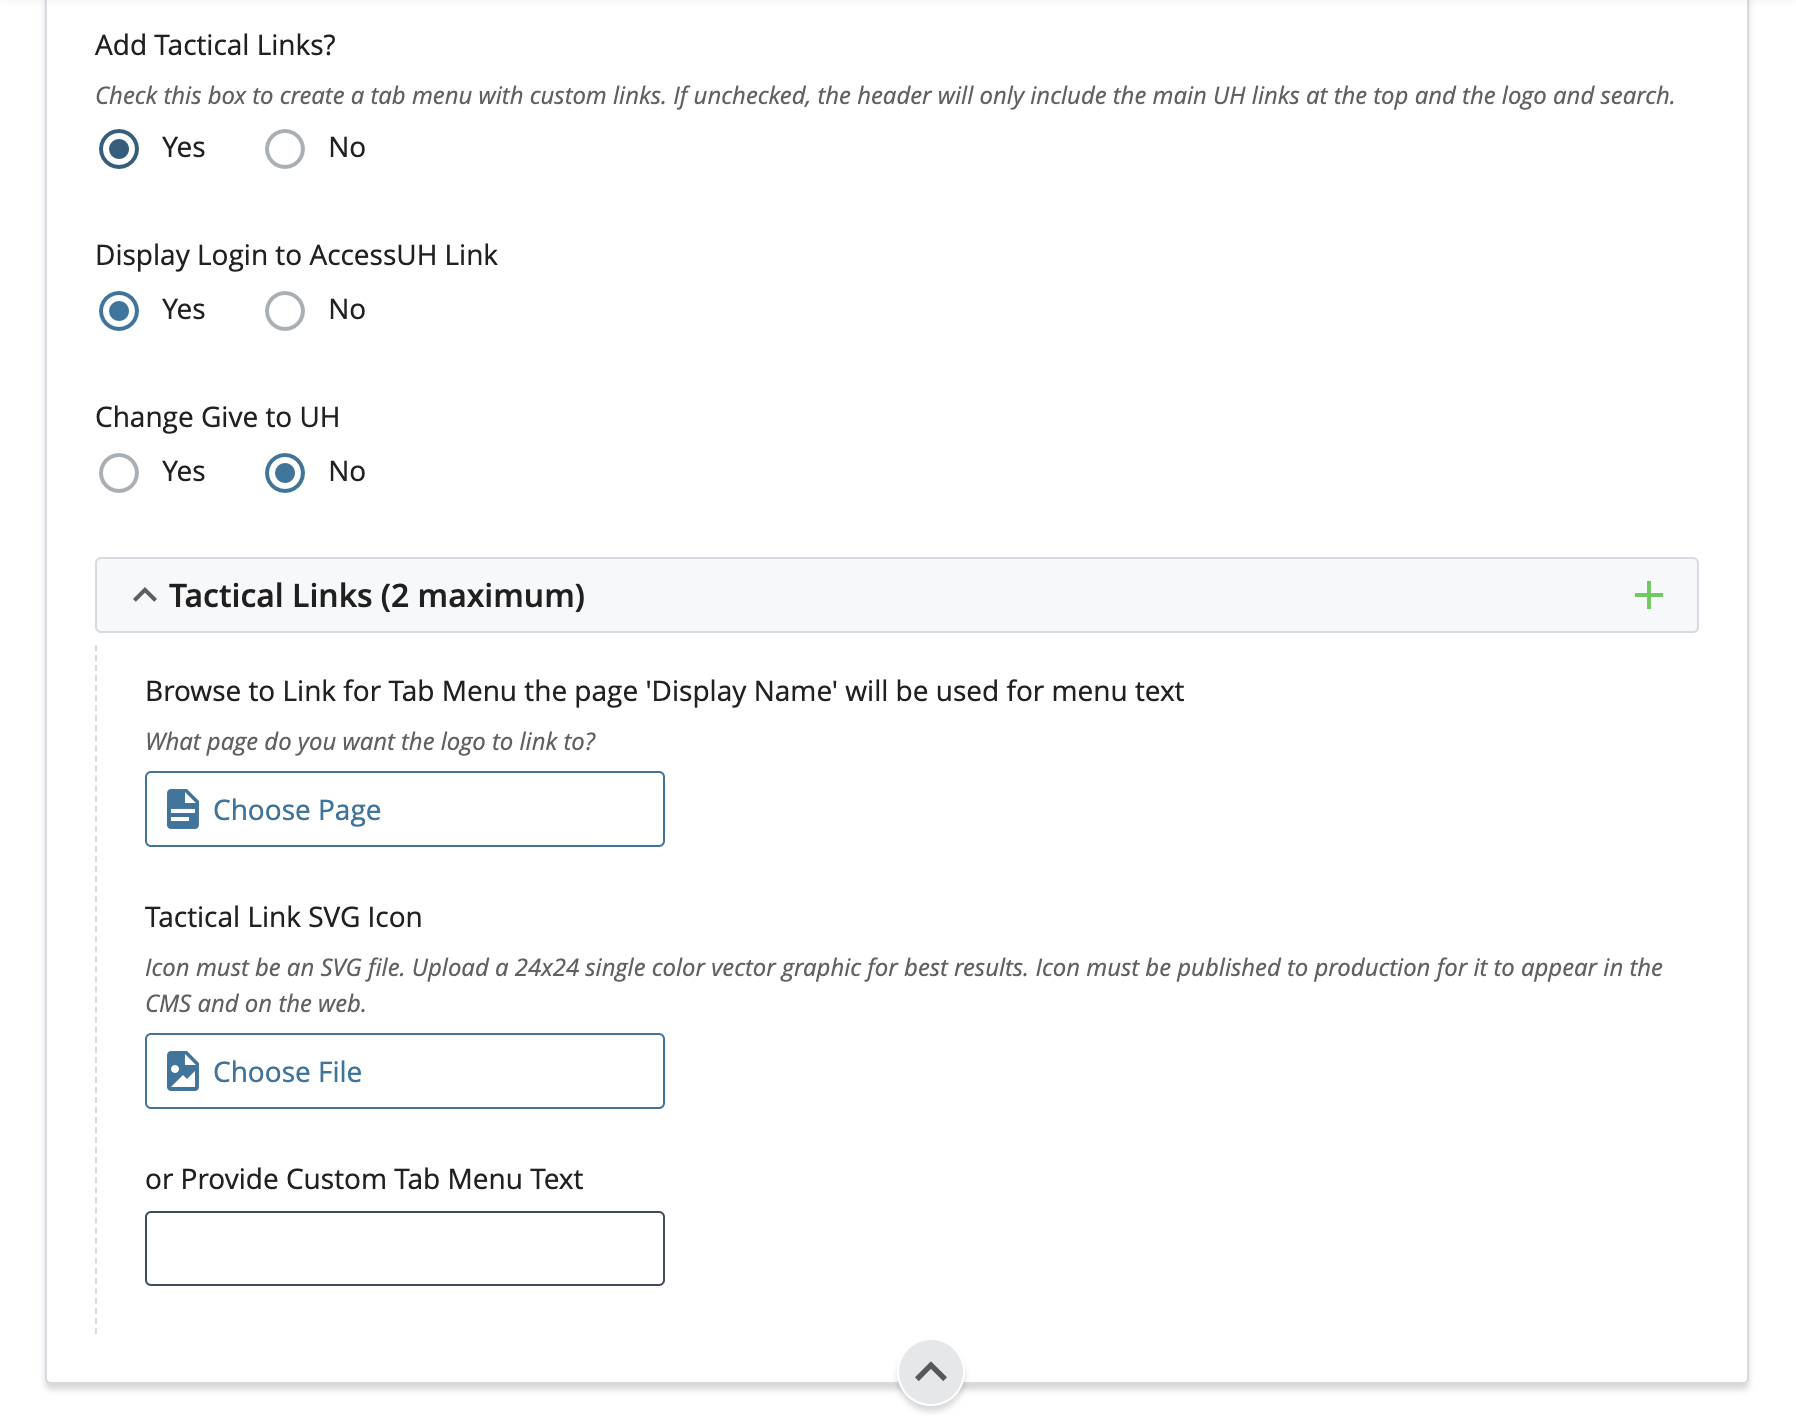
- Or add a Tactical Links (new links will display to the left of the Access UH link)
- Choose the ‘Yes’ radio button to Add Tactical Links
- Browse to the page you want to link to and optionally provide a custom text label
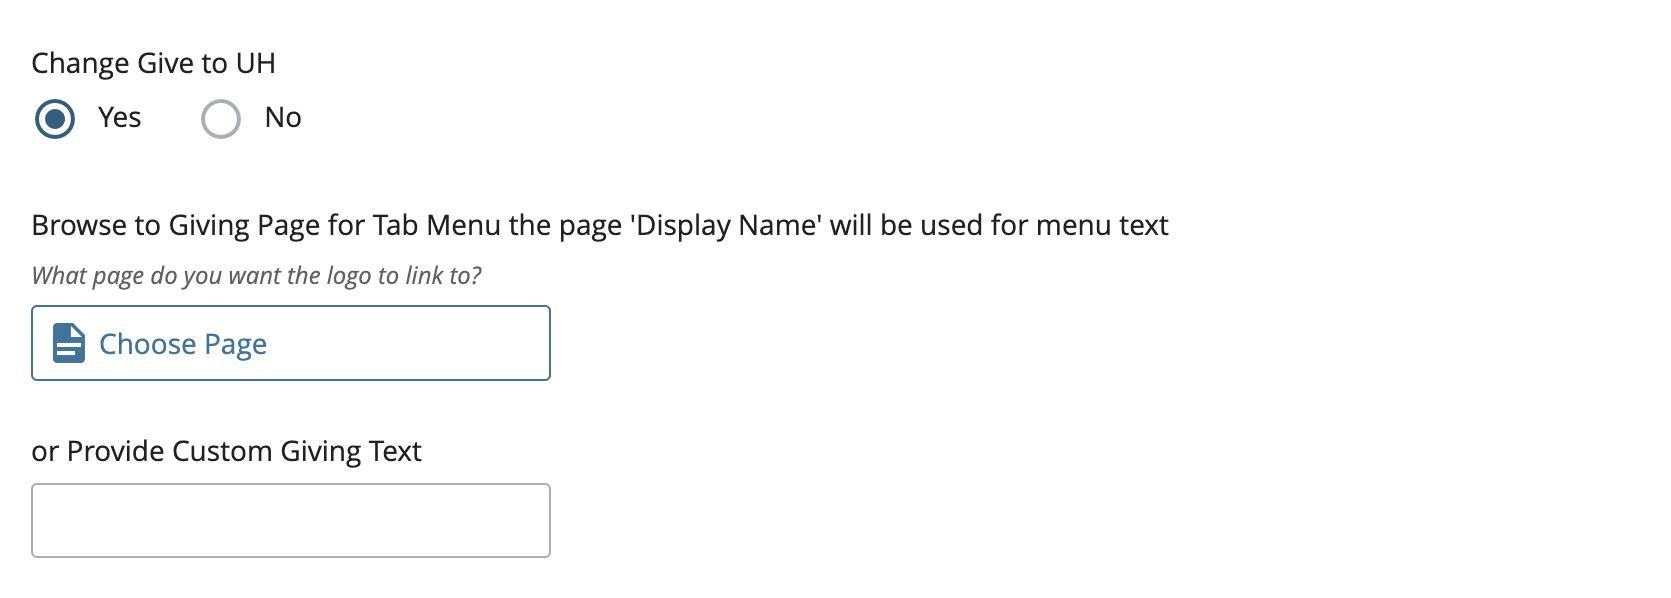
Change the is Give to UH link to your site’s giving page:
- Choose the ‘Yes’ radio button to change the Give to UH link
- Browse to your site’s giving page and select it
- Optionally provide a custom text label for the giving link (the page’s ‘Display Name’ is used by default)
Footers

There is one custom footer per site. It is saved in the _ssi folder. Edit the home index page to choose the footer-ssi file and all other pages within the site will display that footer. The footer is a separate page that can be customized and republished to automatically update all pages.
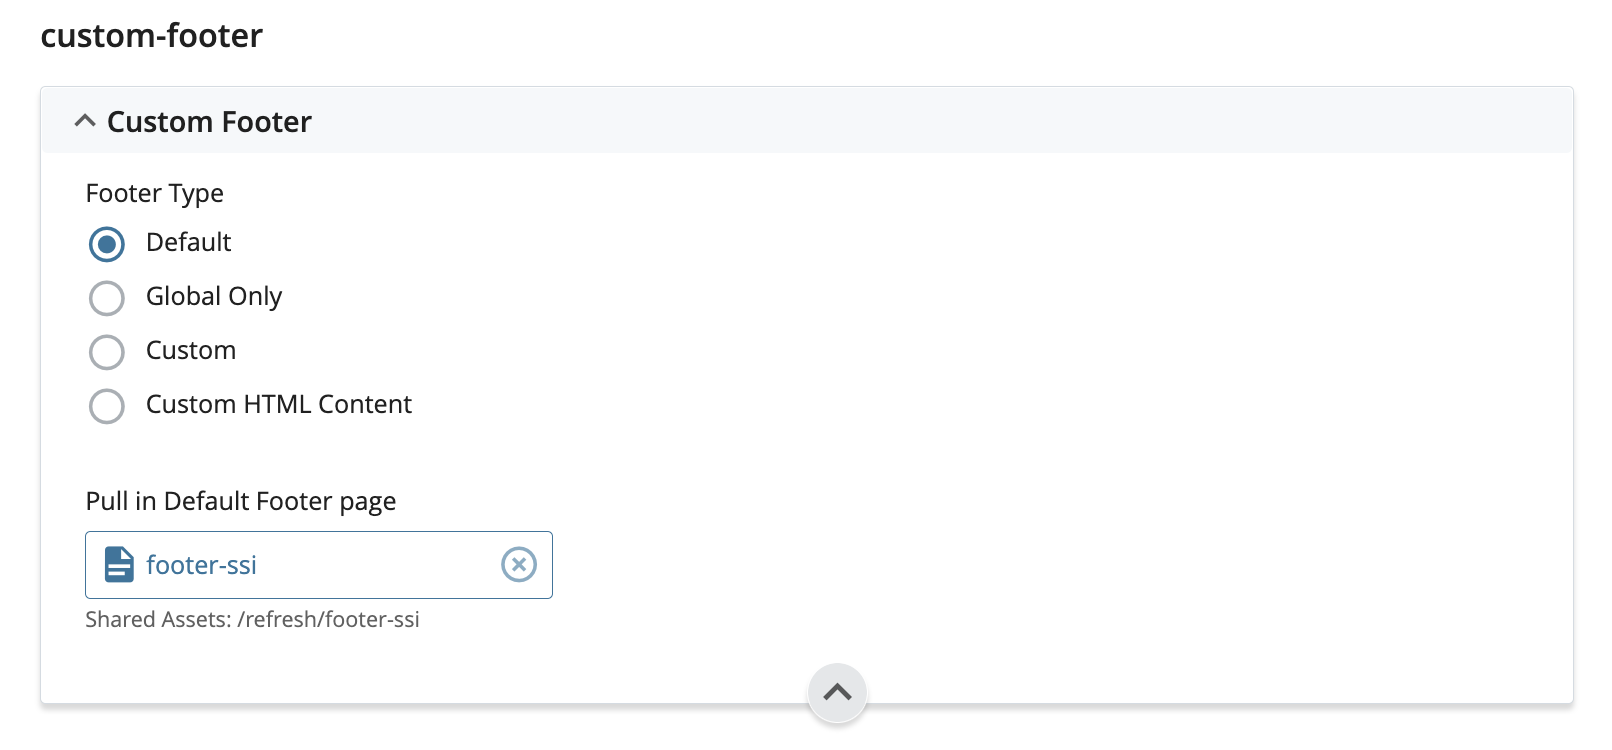
By default, the footers use a page of code to display the UH Footer indicated by the ‘Default’ radio button for the ‘Footer Type’ field.
The footer is two separate pages: the customizable red footer and the gray global footer.
Choose the ‘Custom’ radio button to create all of the items in the red portion of the footer: site specific logo, contact information, page links, and social media links.
Select the Custom HTML button to add a site specific logo, contact information and columns of html content.
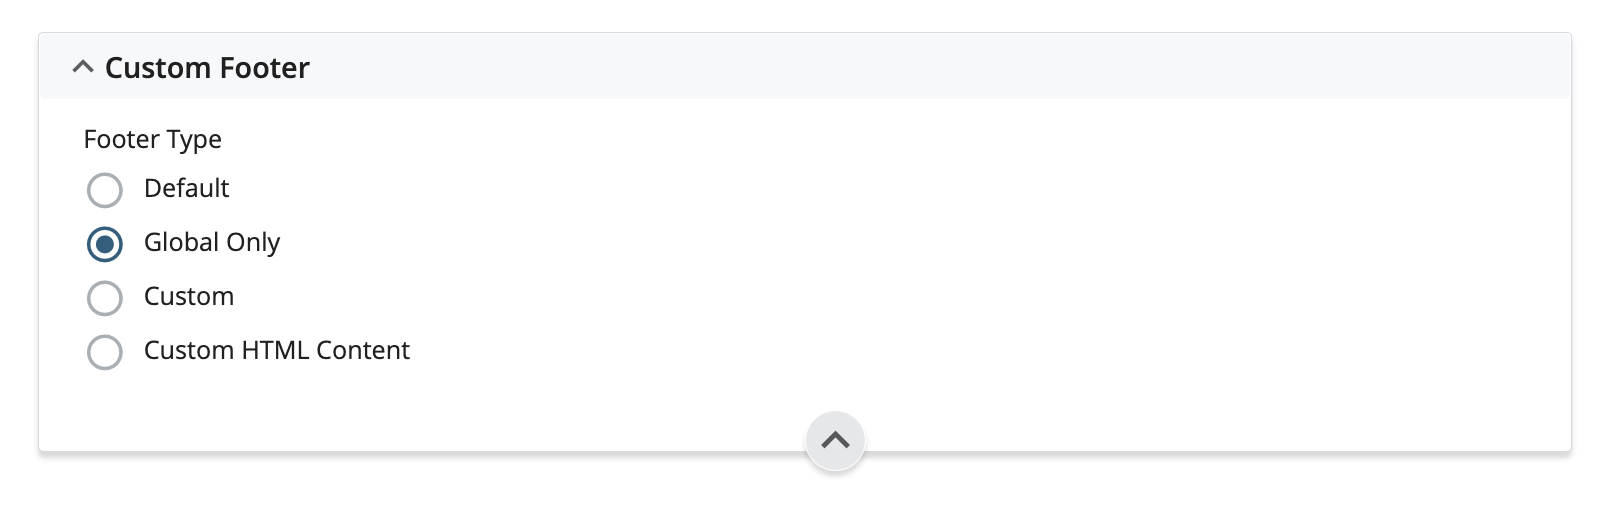
CMS users can opt to display only the gray global footer by choosing the ‘Global Only’ radio button.
Every CMS page by default has the red ‘Default UH Footer’ and the global footer. The red footer will display in the CMS, the global footer will not. Instead you will see it on the live site.
Customizing the Footer
- Upload your unit’s White Primary Word Mark. Please contact UH Branding to request logos specific to your University of Houston unit or if you have inquiries about logos. The word mark should be resized to 260 pixels wide.
- Edit the custom footer file located at _ssi/custom-footer.
- Click the ‘Custom’ radio button and follow the steps below. To customize the footer
with columnar content, click ‘Custom HTML Content’ and follow steps 4-8 and skip to
16.

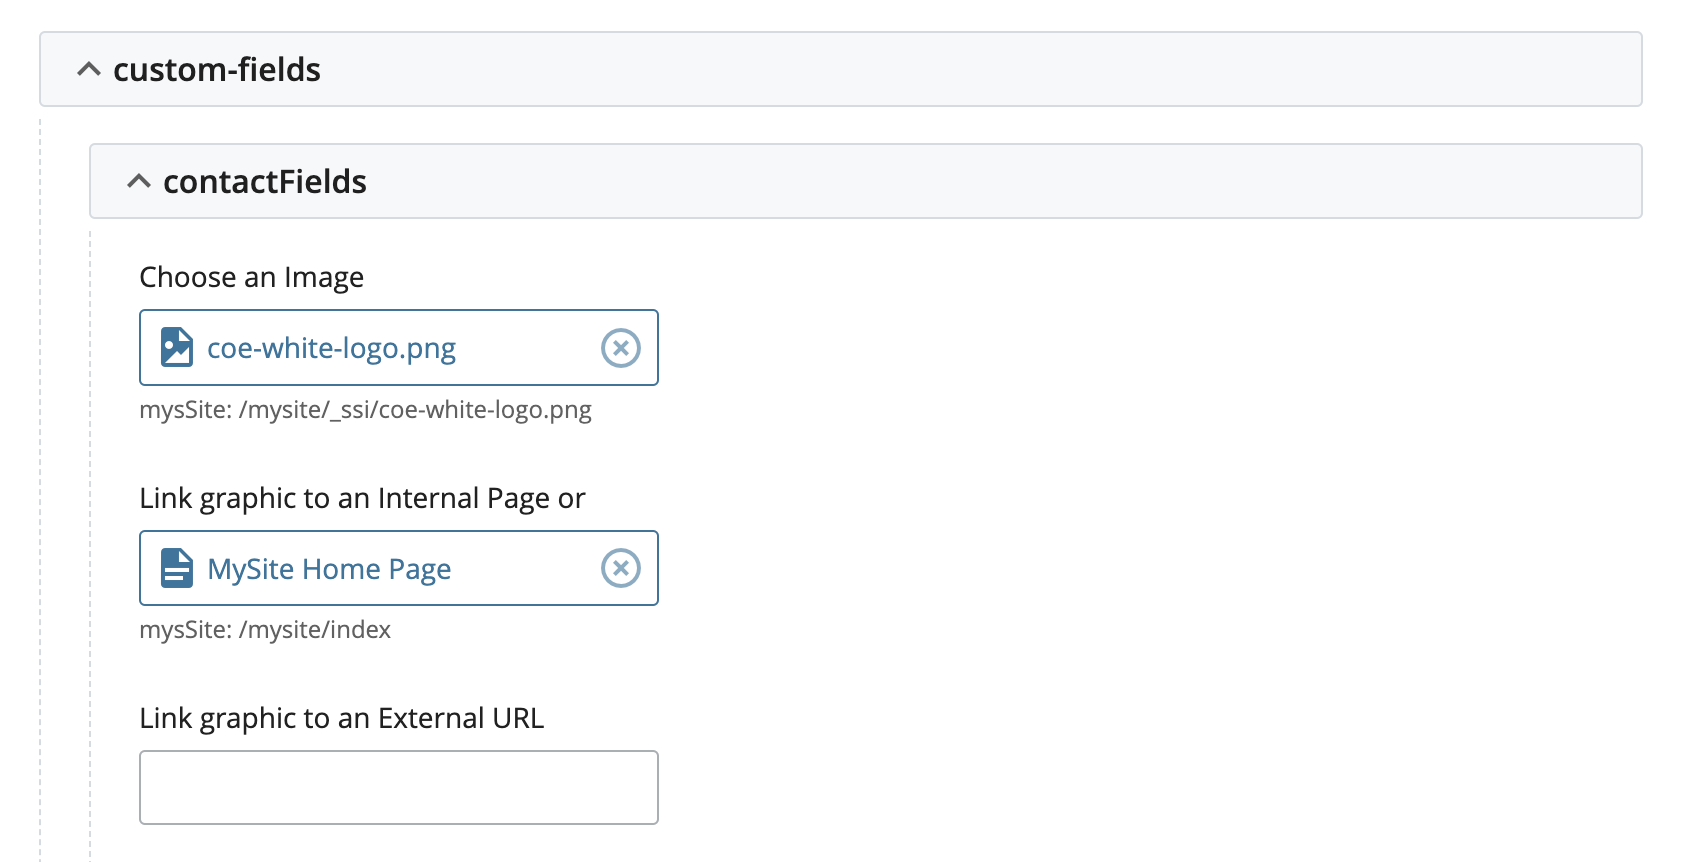
CMS interface. Custom footer option - Expand the ‘custom-fields’ group
- Browse and select your unit’s White Primary Word Mark previously uploaded to the CMS
- Link the image to the site’s home index page
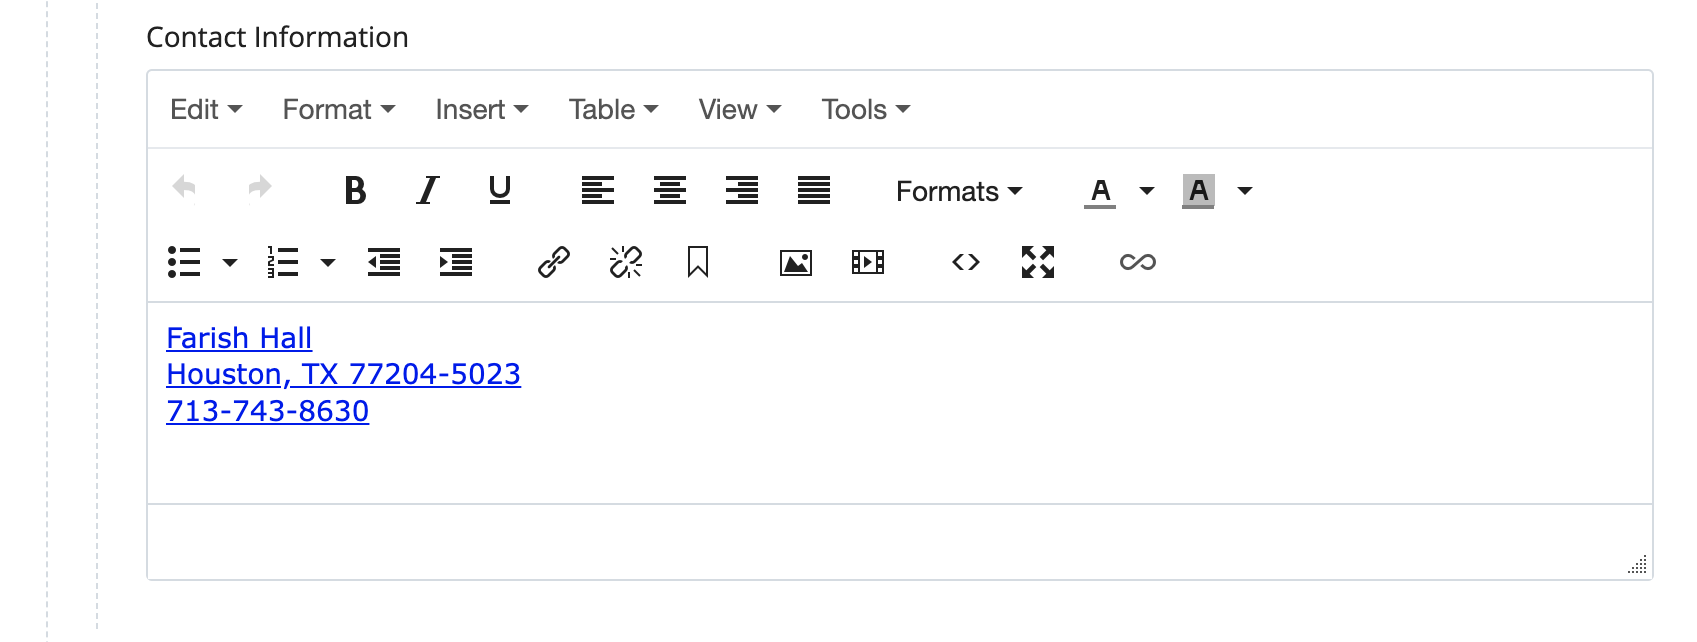
CMS interface. Contact fields - Add Contact Information: building name, address, phone number, etc.
- Be sure to link the building and/or phone number
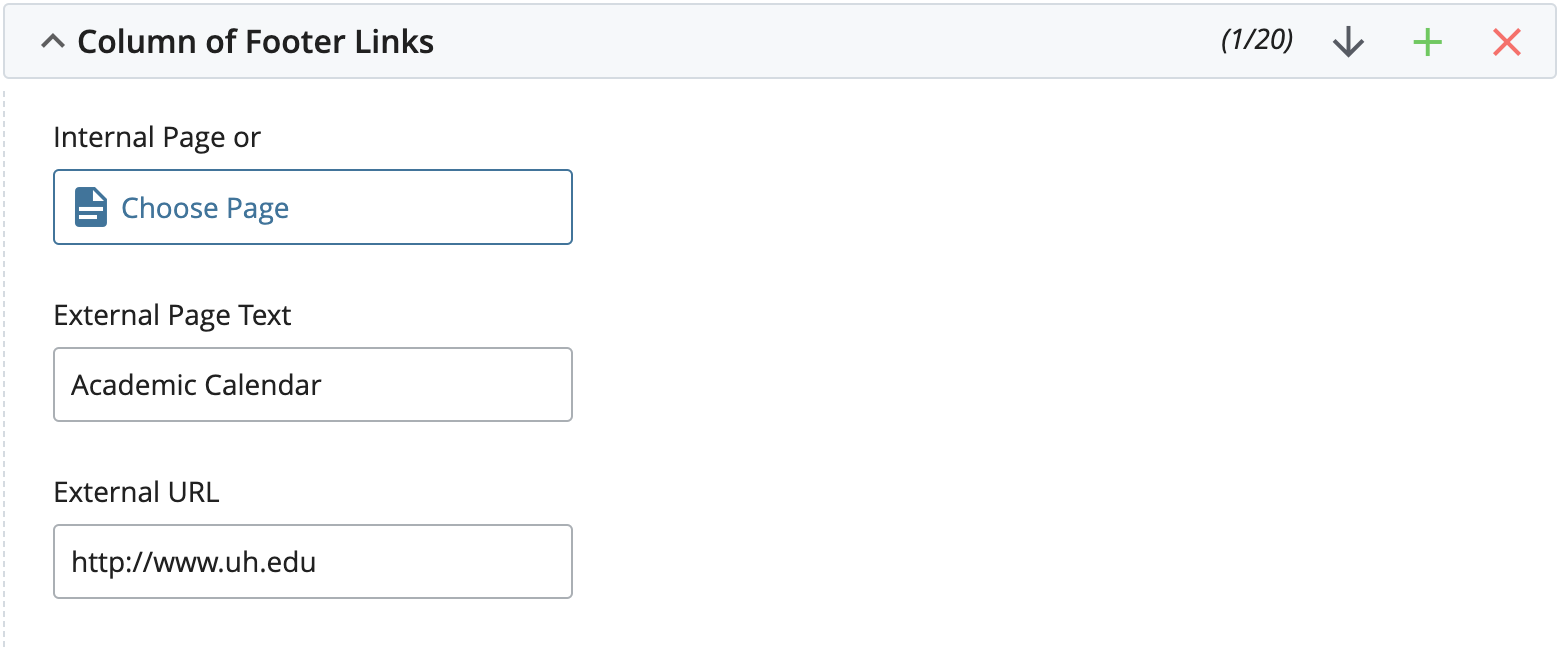
CMS interface. Contact information - Use the Column of Footer Links field groups to edit footer links
- Browse and select an ‘Internal Page’ for the link or type the full URL of an external page
- Add and remove links by clicking the plus and minus signs.
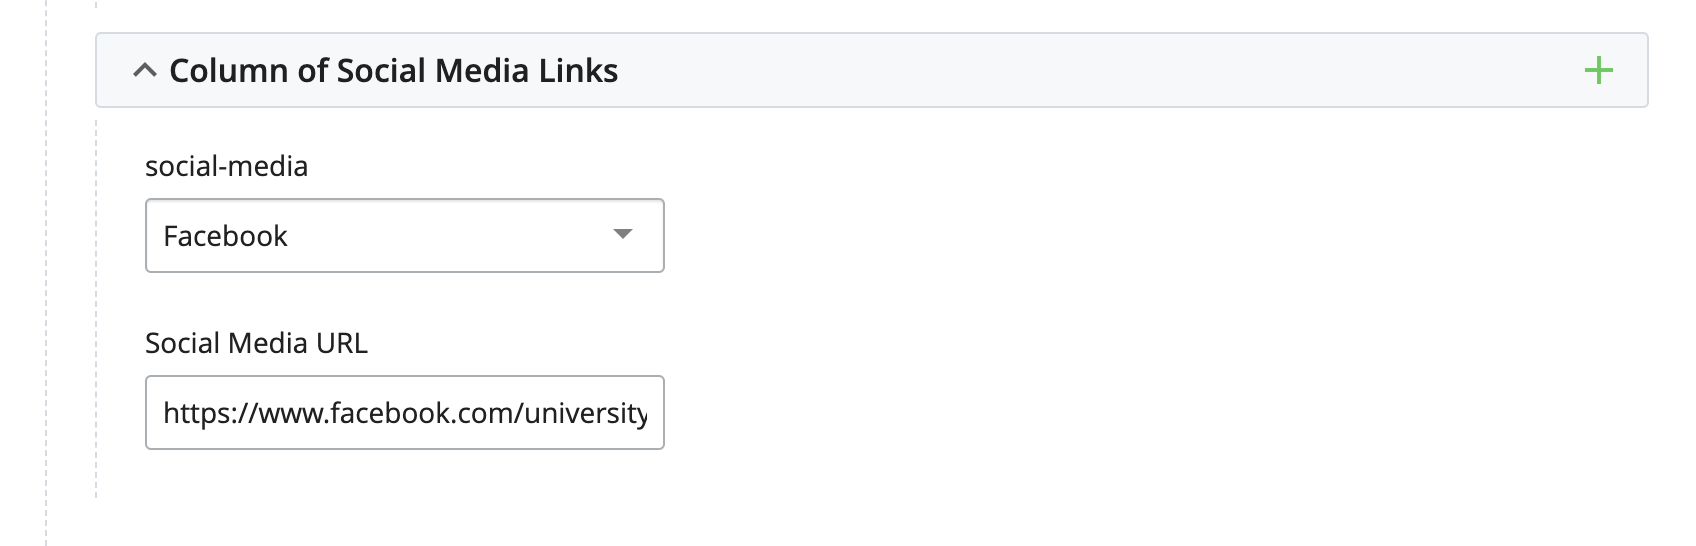
CMS interface. Academic Calendar footer links - Use the Column Social Media Links field groups to edit social media icons
- Select the platform from the social-media dropdown menu
- Type the full URL in the ‘Social Media URL’ box
- Add and remove links by clicking the plus and minus signs.
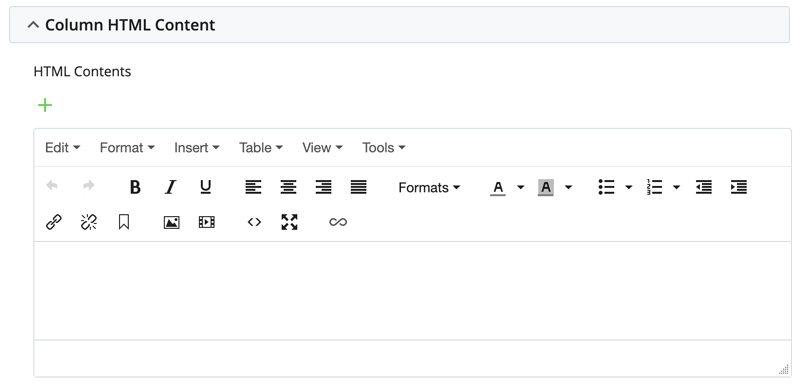
CMS interface. Social media links - If using ‘Custom HTML Content', add your content to the WYSIWYG field. Click the +
sign to add up to 4 columns of content.
CMS interface. Custom HTML Content - Submit your changes and ‘Publish’